If you are a homeowner that needs to know how to test your water shut off valves, we’ve listed the steps to the process below for you. If you find that your shut off valves aren’t working properly or are leaking, they may need to be replaced.
Steps For Testing Your Water Shut Off Valves
Follow these steps to test a water shut off valve:
Locate the valve. Your water shut off valve is usually located near the main water line for your home, which is usually in your basement or your laundry room.
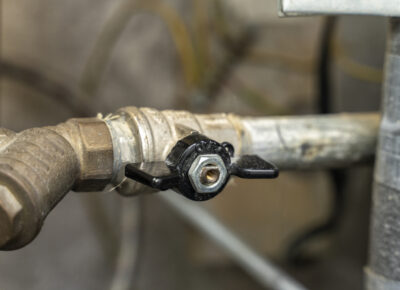
Turn off the valve. You can test the valve by turning the handle or lever clockwise until it stops moving.
Check for water flow. Once you’ve turned off the valve, check all of the faucets and water fixtures in your home to see if water still flows from them. If you are still able to get water, the valve might not be working properly.
Check the valve for leaks. With the valve turned off, inspect the valve and the pipes around it. If there is dripping water or moisture, there could be a leak.
Turn the valve back on. After testing the faucets and inspecting the valve, turn the shut off valve back on by turning the handle or lever counterclockwise until it is completely open.
Now that you know how to test your water shut off valves, you can take a good look and see if they need replacing. If you have water valve problems, reach out to the professionals at Maffet Plumbing! We can come out to your home, diagnose the problem and replace your water valve properly and at a fair price. Contact us here when you need water valve assistance!
Be sure to Follow Maffet Plumbing on Facebook for plumbing tips, case studies, and employment opportunities!